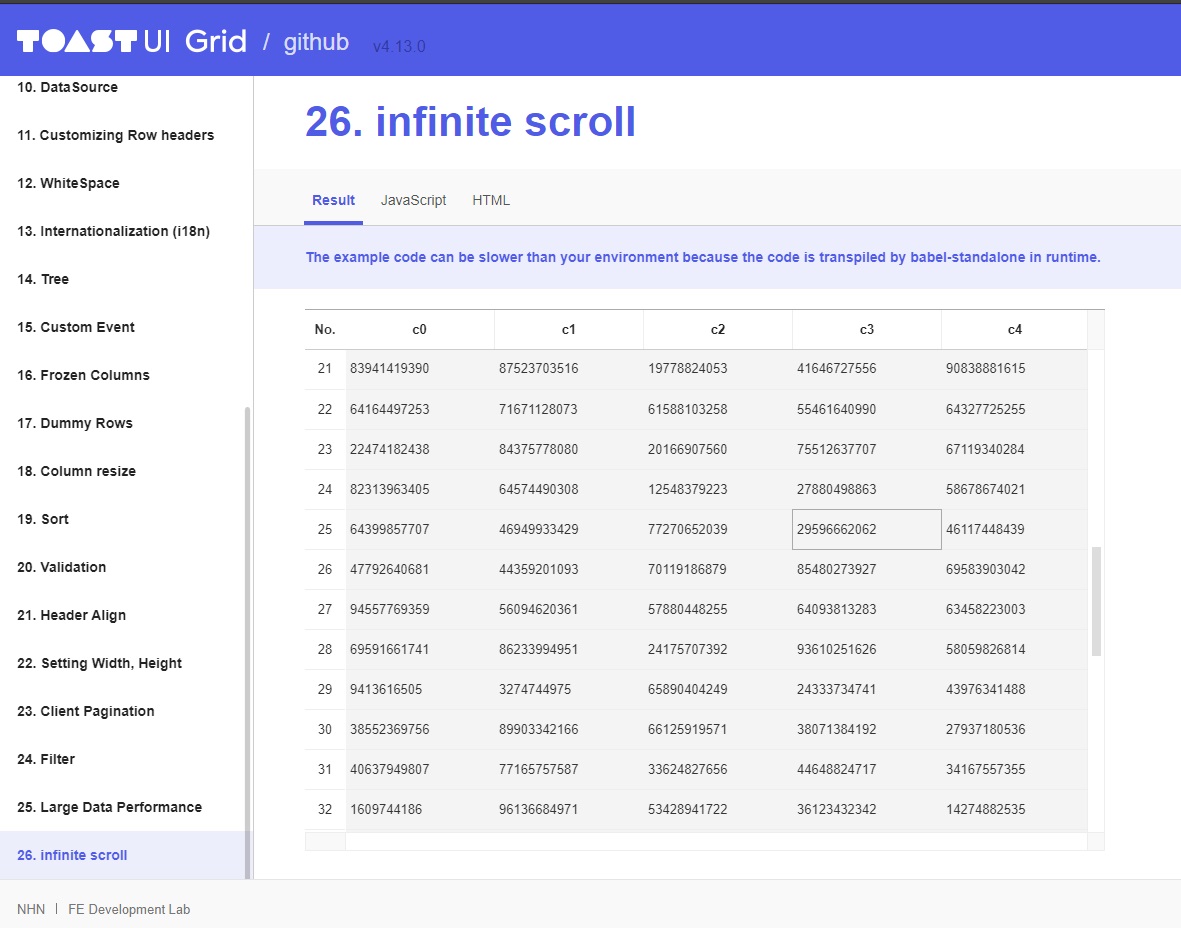
프론트 개발자라면 대개 감동받은 라이브러리가 하나 정도는 있기 마련이다. 추측건대 '토스트UI Grid'는 개발자들의 '감동 라이브러리' 중의 하나일 것이다.
https://nhn.github.io/tui.grid/latest/
https://nhn.github.io/tui.grid/latest/
🚩 Table of Contents Collect statistics on the use of open source TOAST UI Grid applies Google Analytics (GA) to collect statistics on the use of open source, in order to identify how widely TOAST UI Grid is used throughout the world. It also serves as i
nhn.github.io
Toast UI는 국내 유명한 'N'사가 개발한 그리드(테이블) 라이브러리다. Toast UI를 사용한다면, 마치 토스트를 구워내듯 간편하고 깔끔하게 게시판을 구현할 수 있다. 2020년 6월(현재), Toast UI는 총 26개의 그리드 형태를 오픈소스로 제공하고 있다.

CDN
npm패키지를 사용하는 편을 추천하지만, CDN방식으로 설치할 수 있다. 아래 코드를 상단에 붙여넣자.
<link rel="stylesheet" href="https://uicdn.toast.com/grid/latest/tui-grid.css" />
<script src="https://uicdn.toast.com/grid/latest/tui-grid.js"></script>
인스턴스 객체를 생성한 뒤에는 엘리먼트(el)와 colums, 두가지 속성을 반드시 지정해줘야 한다. 'el'속성값에 <div>태그의 id이름을 지정하고, columns에는 테이블 상단의 주제를 입력한다. 아래 코드에서는 칼럼 상단의 항목을 '분야', '경력', '나이', '희망연봉'으로 지정했다.
<div id="recruitGrid"></div>  //id를 grid로 지정

const Grid = new tui.Grid;  //인스턴스 객체 생성

const recruitData = [
  {
     field:'자바스크립트',
     career:'7년',
     age:'12세',
     salary_desired:'1억'
  },
  {
     field:'파이썬',
     career:'3년',
     age:'9세',
     salary_desired:'2억'
  },
  {
     field:'자바',
     career:'9년',
     age:'15세',
     salary_desired:'3억'
  },
  {
     field:'A.I',
     career:'10년',
     age:'17세',
     salary_desired:'4억'
  }
]

const recruitGrid = new Grid({
  el: document.getElementById('recruitGrid'), // DOM의 id지정
  columns: [
    {
      header: '분야',
      name: 'field',
      align: 'center'
    },
    {
      header: '경력',
      name: 'career',
      editor: 'text'
    },
    {
      header: '나이',
      name: 'age'
    },
    {
      header: '희망연봉',
      name: 'salary_desired'
    }
  ],
  data: recruitData
});

recruitGrid.resetData(newData);
Grid.applyTheme('striped');
데이터는 2가지 방법으로 설정할 수 있다. 가령, 파이어베이스와 같은 클라우드 서버(외부)를 활용하는 경우에는 위와 같이 따로 변수를 지정하면 된다. 반면, 간단한 자료라면, columns아래에 data를 직접 넣는 방식을 사용할 수도 있다. 일단 직접 실습을 해보자. 1~2번 하다보면 자연스럽게 원리를 이해할 수 있다.
'라이브러리 창고 > 차트 · 도표 · 프리젠테이션' 카테고리의 다른 글
| 가성비 차트 라이브러리 『billboard.js 2.0』 (0) | 2020.07.22 |
|---|---|
| 『Tabulator.js』자유도 높은 테이블 라이브러리 (0) | 2020.06.30 |
| 감각적 슬라이드 라이브러리 keen-slider.js (0) | 2020.06.29 |
| 금융전문 차트 라이브러리 『Lightweight Charts』 (0) | 2020.06.25 |
| 『frappe JS 』차트 라이브러리 (3) | 2020.06.17 |
댓글